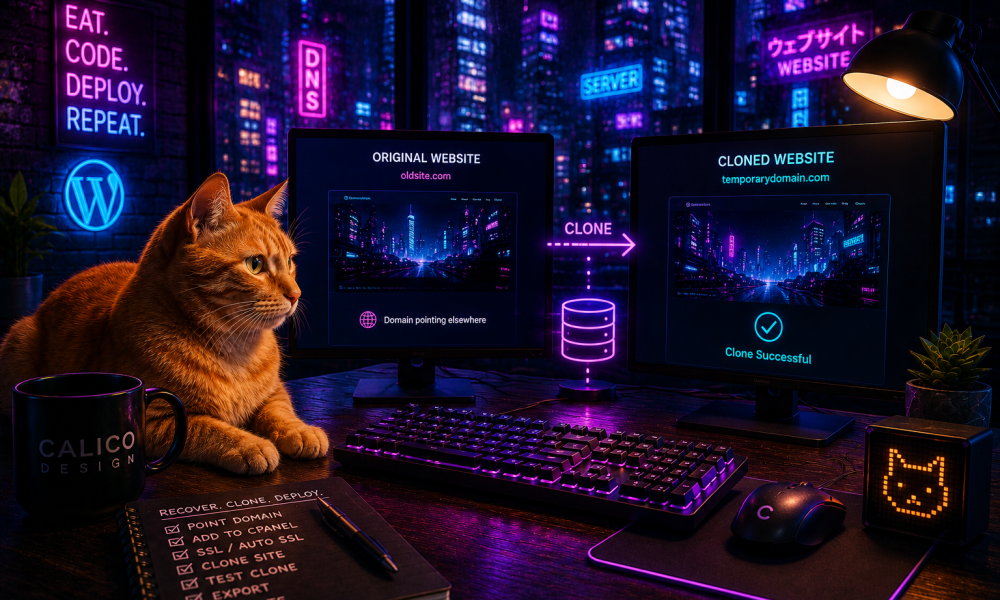
What happens when you still have a complete WordPress website sitting on your hosting account, but you can no longer access it through the original domain?
This can happen for several reasons. A client may have pointed their domain to a new website, the DNS may have been changed, or you may simply need to recover an older WordPress installation after the original domain has moved somewhere else.
The important thing to understand is that your domain and your WordPress website are not the same thing. The domain points visitors toward the server, while the actual WordPress website consists of files and a database stored on that server.
If those files and the database still exist in your hosting account, there may be a surprisingly simple way to recover and clone the WordPress website without having access to the original domain.
In this guide, we’ll walk through a real-world method using a temporary domain, DNS, cPanel, SSL, and WordPress cloning tools.
The Problem: WordPress Is Still There, But the Domain Is Gone
Imagine that you previously hosted a WordPress website for a client. The original WordPress installation still exists inside your hosting account, but the client’s domain now points to a completely different website or hosting provider.
Trying to visit the original domain will no longer take you to the WordPress installation on your server.
That also means you can’t simply visit:
example.com/wp-admin
and log into the old website.
However, if you still have access to the hosting account containing the original WordPress installation, you may not need the original domain at all.
Instead, you can use another domain to temporarily access the server, create a clone of the existing WordPress installation, and bring the website back online.
Before You Start: What You’ll Need
For this WordPress recovery method, you’ll generally need:
- Access to the hosting account containing the original WordPress installation.
- Access to cPanel or a similar hosting management system.
- A temporary or unused domain you control.
- Access to the temporary domain’s DNS records.
- The IP address of the hosting server.
- The original WordPress files and database still present on the server.
It’s also a good idea to create a backup before making changes to an older WordPress installation.
Step 1: Find a Temporary Domain You Control
The first thing you need is another domain that you can temporarily point toward the hosting account.
This does not need to become the website’s permanent domain. It simply gives you a way to reach the server and create a working copy of the inaccessible WordPress installation.
If you manage multiple websites, you may already have an unused domain that can temporarily serve this purpose.
Step 2: Point the Temporary Domain to Your Hosting Server
Next, open the DNS settings for your temporary domain.
Create or update the appropriate A record so that the domain points to the IP address of the server where the original WordPress installation is located.
What Does the A Record Do?
An A record essentially tells the internet:
When someone visits this domain, send them to this server.
After saving the DNS changes, you may need to wait for the new record to propagate.
Depending on your DNS provider and previous settings, this can happen quickly or take additional time.
Step 3: Add the Temporary Domain to cPanel
Once the domain points toward the correct server, log into the cPanel account containing the original WordPress website.
Open the Domains section and add the temporary domain to the same cPanel account.
The goal is to have both the inaccessible WordPress installation and your temporary domain available within the same hosting environment.
Pay Attention to the Document Root
When adding the domain, make sure you understand which document root is being assigned to it.
The document root determines which directory on the server will contain the website associated with that domain.
We want the temporary domain to have a clean location where the recovered website can be cloned.
Step 4: Give the Temporary Domain Its Own Document Root
For this process, the temporary domain should have its own directory rather than simply pointing directly into the existing website’s folder.
This gives you a clean location where the cloned WordPress installation can be created.
Your hosting structure might look something like this:
/public_html/original-site/
for the existing WordPress installation and:
/public_html/temporary-domain/
for the new clone.
The exact directory structure will depend on your hosting configuration.
Step 5: Configure SSL for the Temporary Domain
Before cloning the website, make sure the temporary domain has a valid SSL certificate.
In cPanel environments that support it, you can typically use AutoSSL to generate and install the certificate.
Make Sure DNS Is Pointing to the Server First
For AutoSSL to work correctly, the domain generally needs to be pointing to the correct server first.
Once SSL is active, confirm that you can access:
https://yourtemporarydomain.com
without receiving a certificate warning.
Step 6: Locate the Original WordPress Installation
Now locate the original WordPress installation inside your hosting account.
Depending on your hosting configuration, you may be able to see the installation through a WordPress management or application installer interface in cPanel.
Even though the original domain no longer points to this server, the hosting system may still recognize the WordPress installation because its files and database remain intact.
This is the critical part of the process.
The website may be inaccessible from the internet while still being completely intact on the server.
Step 7: Clone the Existing WordPress Installation
Using the WordPress management or cloning tools available through your hosting environment, select the original WordPress installation and choose the option to clone it.
For the destination, select your temporary domain.
The cloning process should create a new copy of the WordPress installation using the temporary domain as its website address.
What Happens During the WordPress Clone?
Depending on the hosting software being used, the cloning process may automatically:
- Copy the WordPress files.
- Clone the database.
- Create new database credentials.
- Update the WordPress site URL.
- Update references to the original domain.
- Configure the cloned installation for the temporary domain.
Once the cloning process finishes, you should have a functioning copy of the original website running independently on the temporary domain.
Step 8: Access the Cloned WordPress Dashboard
Now try visiting:
https://yourtemporarydomain.com/wp-admin
If the clone completed successfully, you should be able to access the WordPress dashboard through the temporary domain.
At this point, you effectively have the old website back.
Check the front end of the website as well and make sure the pages, images, menus, plugins, theme, and other important functionality are loading correctly.
Step 9: Test the Recovered WordPress Website
Before exporting or migrating the recovered website, spend a few minutes checking the installation.
What to Check After Cloning the Website
Look for:
- Missing images or media files.
- Broken internal links.
- Pages redirecting to the old domain.
- Plugin errors.
- Theme compatibility issues.
- Broken forms.
- Hard-coded references to the previous domain.
- Outdated WordPress, plugin, or theme versions.
Remember that you may be recovering a website that has not been actively maintained for some time.
Getting access to WordPress again is only the first step. Make sure the recovered site is stable before using it as a production website.
Step 10: Export the Recovered WordPress Website
Once the clone is working, you can treat it like any other accessible WordPress installation.
In the workflow demonstrated here, All-in-One WP Migration can be used after the website has been recovered to create an export of the functioning WordPress installation.
From there, that export can be used to move the website to another staging environment, development domain, or final production domain.
This is especially useful because the temporary domain doesn’t need to become a permanent part of the website.
It simply acts as a bridge between an inaccessible WordPress installation and a clean, working copy that you can manage normally.
Why This WordPress Recovery Method Works
This technique works because DNS, domains, hosting, and WordPress are separate layers of a website.
Your domain might point somewhere else while your old WordPress installation continues to exist on the original server.
Changing where a domain points does not automatically delete:
- WordPress files.
- The WordPress database.
- Uploaded media.
- Theme files.
- Plugin files.
- Website settings stored on the server.
As long as you still control the hosting account and the original installation hasn’t been deleted, you may still have everything you need to recover the website.
When Would You Use This WordPress Recovery Method?
This is not something you’ll need during a normal WordPress migration, but it can be extremely useful in unusual website recovery situations.
For example:
- A client’s domain was pointed to a new website but you still host their previous WordPress installation.
- The original domain is no longer available but the website files remain on the server.
- You need to recover an old WordPress website before the hosting account is canceled.
- You want to preserve a previous version of a website for reference or redevelopment.
- You need to create a development or staging copy of an inaccessible WordPress installation.
- You need to migrate an old website but can’t access WordPress through its original URL.
Don’t Delete Old WordPress Installations Too Quickly
This situation also highlights an important lesson for developers and website owners.
If a domain has moved away from a server, don’t automatically assume that the old WordPress installation is useless.
That installation could still contain years of:
- Website content.
- Blog posts.
- Images and media.
- Custom development.
- SEO content.
- Forms and configuration data.
- Historical website information.
Before deleting an old WordPress installation, create a complete backup or migration archive.
Your Domain and Your WordPress Website Are Not the Same Thing
The biggest takeaway from this process is simple:
A domain is an address. Your WordPress website lives on a server.
If the address changes, the building doesn’t necessarily disappear.
When a domain stops pointing to your hosting account, it can make a WordPress installation appear to be gone even though all of the files and database information are still sitting exactly where you left them.
By using a temporary domain, pointing it to the correct server, adding it to the same cPanel account, configuring SSL, and cloning the existing WordPress installation, you can create a working copy without needing the original domain.
Final Thoughts: Recovering WordPress Without the Original Domain
Recovering a WordPress site without access to its original domain sounds complicated until you understand what is actually happening behind the scenes.
The basic process is:
- Find a temporary domain you control.
- Point its A record to the hosting server.
- Add the domain to the same cPanel account.
- Create a separate document root.
- Configure SSL.
- Locate the original WordPress installation.
- Clone it to the temporary domain.
- Access and test the recovered WordPress website.
- Export the recovered installation if you need to move it elsewhere.
It’s an unusual WordPress problem, but it’s also a great example of why understanding DNS, hosting, domains, databases, and WordPress can be just as important as knowing how to build the website itself.
If the files and database are still there, the website may not be gone at all. You may just need another way in.